
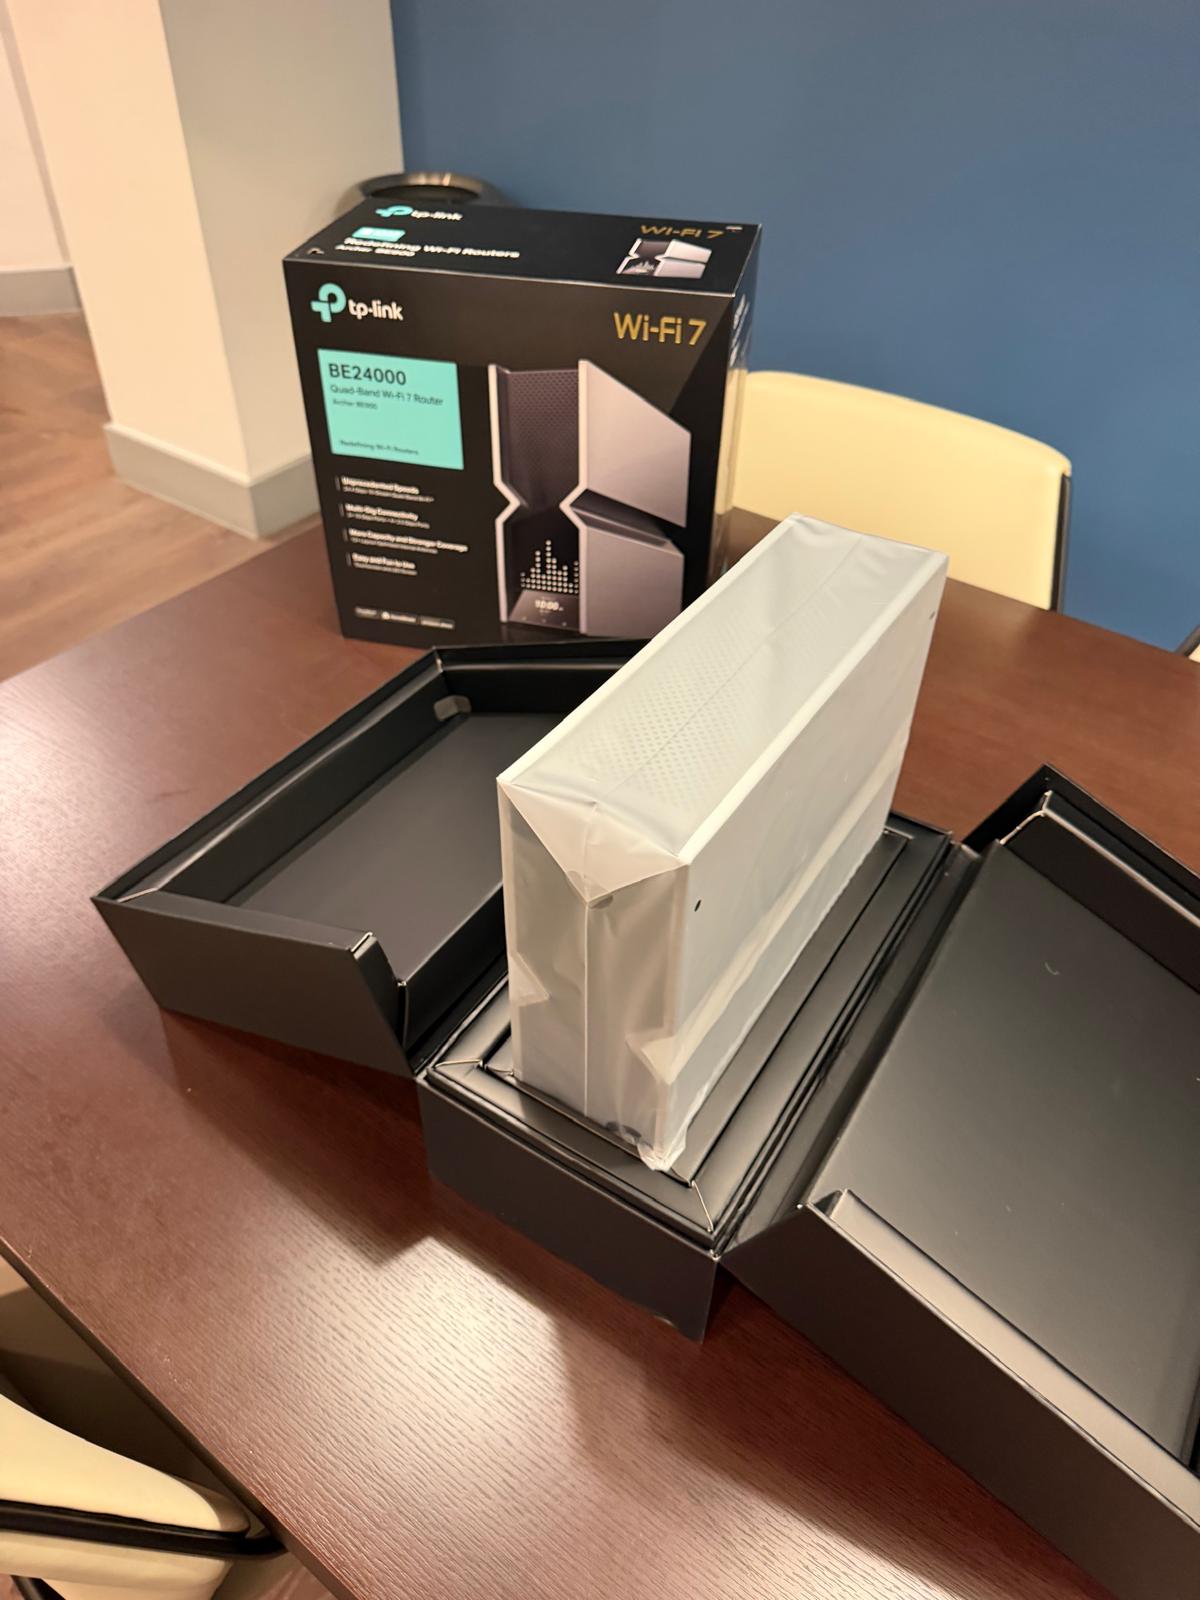
Every home comes with a built-in ceiling WiFi 6 access point that covers the whole unit — for almost everyone, that’s all you’ll ever need. But if you like to run your own gear — a WiFi 7 router, a mesh system, a home lab — you can absolutely bring your own. Here’s how.
You don’t need to — but you can
The in-unit access point is fast, managed, and hassle-free, so most residents just connect and go. But your unit’s network is yours — nothing stops you from plugging in your own router and running your home network exactly how you like.
How to connect your own router
Your unit’s internet lands on a wired connection at the media panel, including a 10-gig Ethernet port. To use your own router:
- Run a cable from the wired drop (the media panel or a wall Ethernet jack) to your router’s WAN / Internet port.
- Power it up and create your own network name and password in the router’s app.
- Connect your devices to your new network — done.
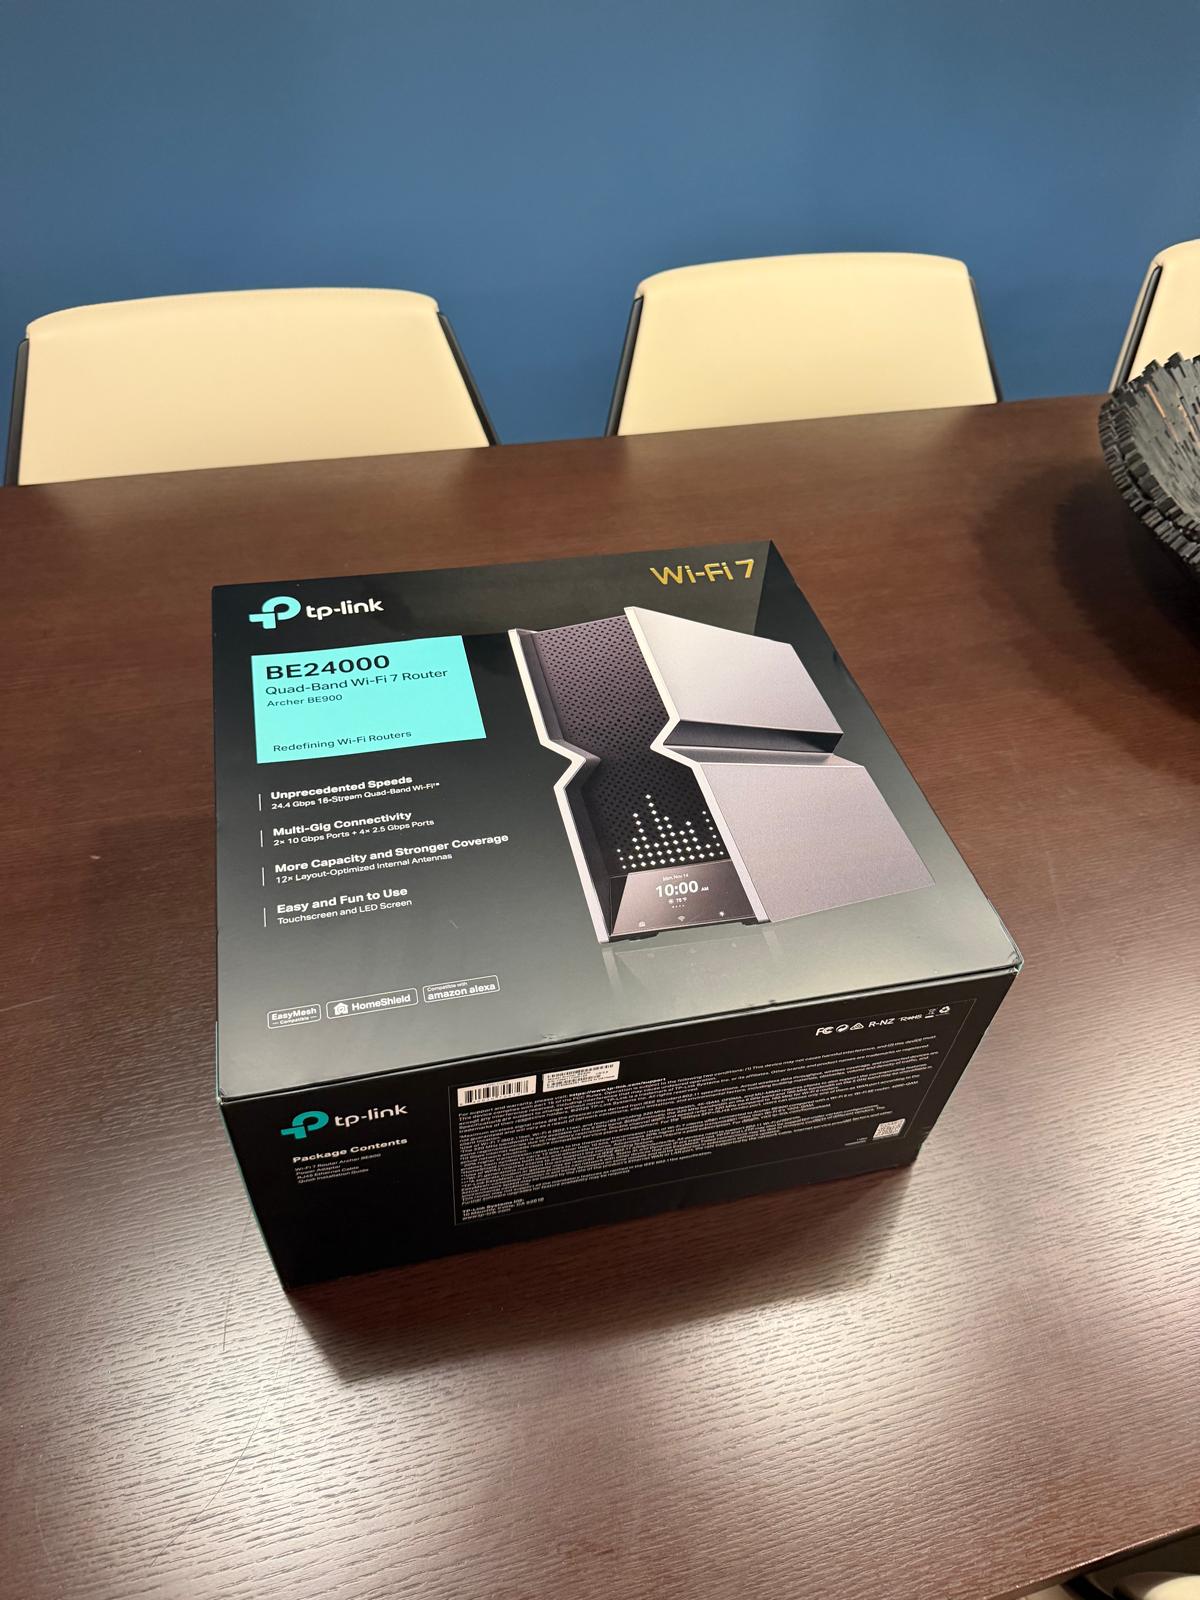
Go big: WiFi 7 and multi-gig
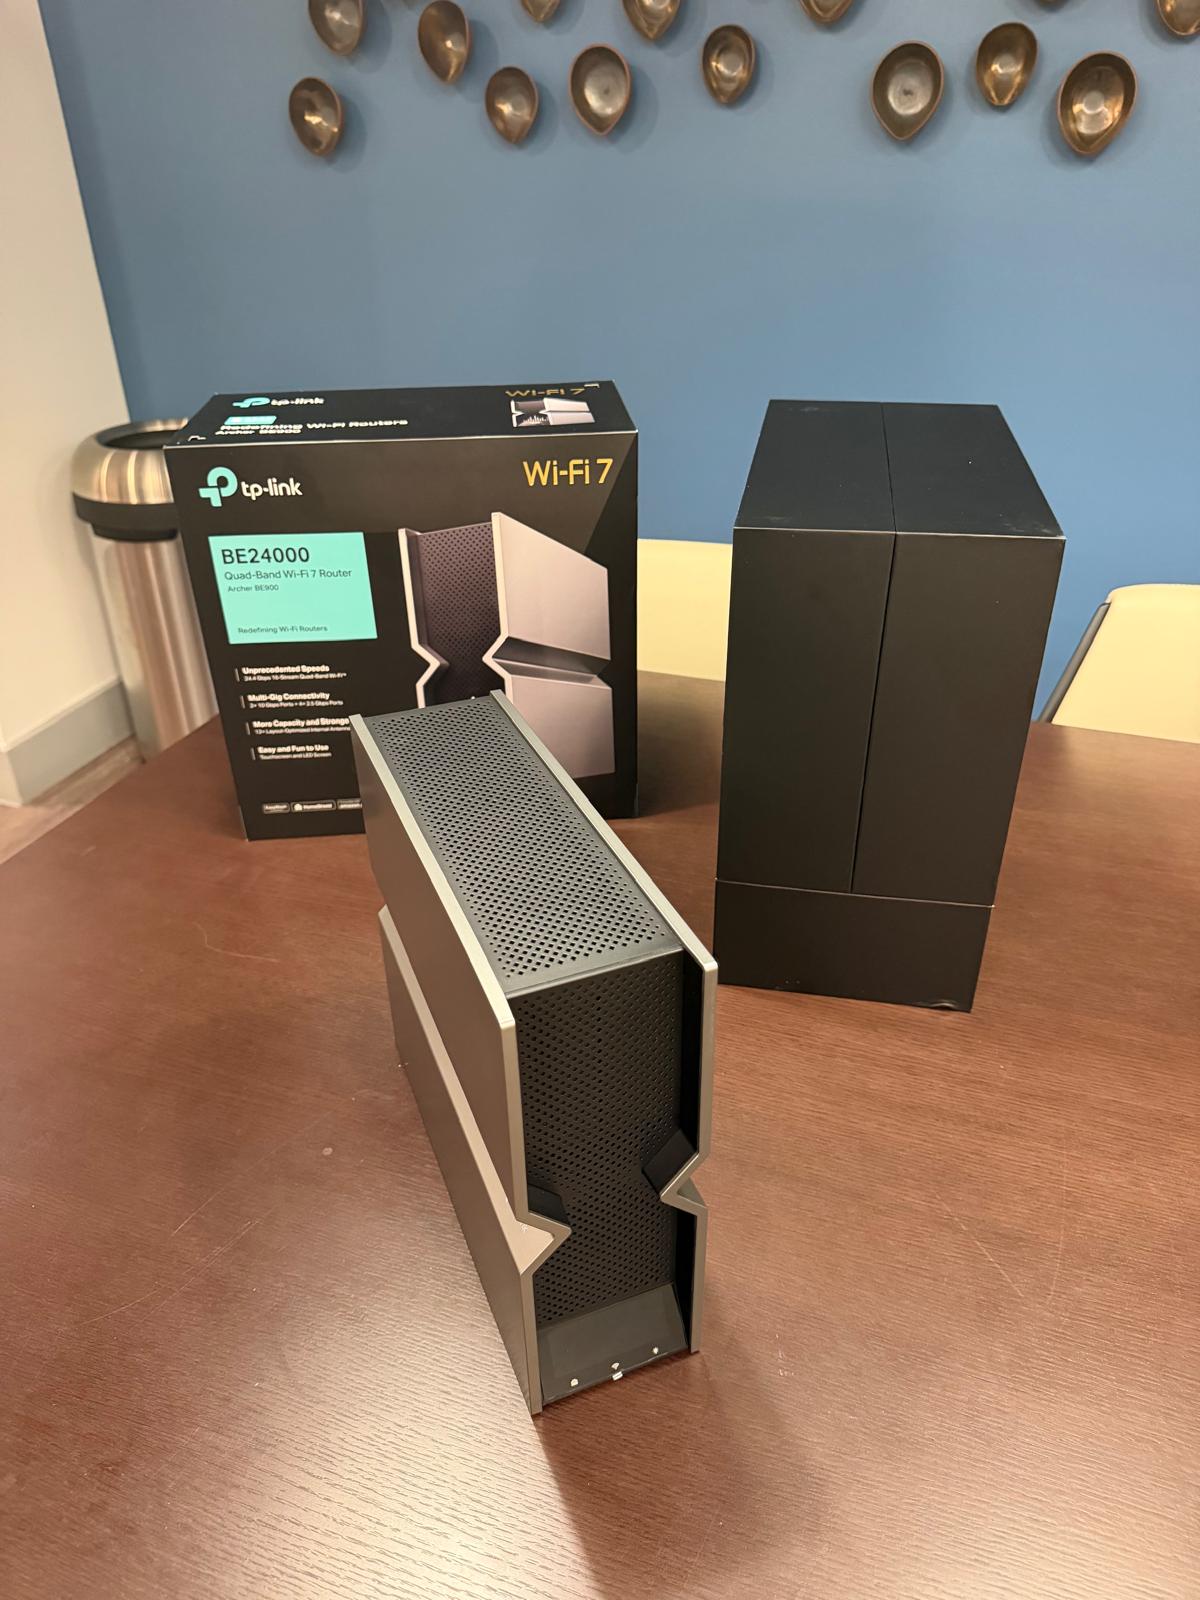
Because every unit has a true 10-gig wired feed, a modern WiFi 7 router (like the quad-band model pictured) can pull the full connection and rebroadcast it however you want — wider channels, more bands, and headroom for a house full of devices. If you want the very latest wireless in your own hands, the wiring is ready for it.
A few tips
- Hardwire the router to the media panel or 10-gig port for the best speed and lowest latency.
- It’s still your private network — your own router runs on your unit’s connection, isolated from your neighbors.
- Mesh works great — add satellite nodes for a large unit, and hardwire a node to another Ethernet drop if you have one.
- Prefer no fuss? Leave it to the built-in ceiling AP — fast, reliable wifi with nothing to manage.
Questions about the wiring or the best spot for a router? On-site support and your resident portal can help.